
Sarah stared at her once-pristine lawn last October, watching patches of dark, spongy moss creep across what used to be her pride and joy. After fifteen years of careful mowing and watering, her grass had seemingly given up overnight. The worst part? Her neighbor’s lawn looked perfect, despite getting the same amount of rain and shade.
That neighbor, it turned out, had learned a simple trick during a holiday in Amsterdam. While most gardeners wage war against moss after it appears, this Dutch technique stops it before it even gets started. No expensive treatments, no back-breaking removal sessions—just one small change that makes your soil unwelcome to moss.
The secret lies in understanding what moss really wants and making sure your lawn never provides it.
Why Your Lawn Becomes a Moss Paradise
Moss doesn’t just randomly appear on healthy lawns. It shows up when three conditions align perfectly: acidic soil, persistent moisture, and limited sunlight. Think of moss as an opportunist that moves in when your grass is already struggling.
Acidic soil creates the biggest opening. When your soil pH drops below 6.0, grass roots struggle to absorb nutrients even when plenty are available. The grass gradually weakens, thins out, and leaves bare spots. Meanwhile, moss thrives in acidic conditions and quietly fills those gaps.
“Most homeowners focus on killing the moss, but that’s treating the symptom,” explains Dr. Henrik van Der Berg, a soil specialist from Wageningen University. “The real problem is usually pH imbalance.”
Waterlogged soil delivers the knockout punch. Poor drainage suffocates grass roots by cutting off oxygen supply. Areas under trees, beside hedges, or on north-facing slopes often stay soggy longer. Combined with limited sunlight, these spots become moss magnets.
Before moss becomes visible, your lawn sends warning signals:
- Grass turns pale or yellowish despite regular feeding
- Thin patches where soil shows through
- Spongy, soft feeling underfoot instead of firm turf
- Soil that stays muddy for days after rain
- Increased presence of weeds like dandelions and plantain
These signs indicate rising soil acidity—the perfect time to intervene using Dutch lawn moss prevention methods.
The Dutch Wood Ash Method That Changes Everything
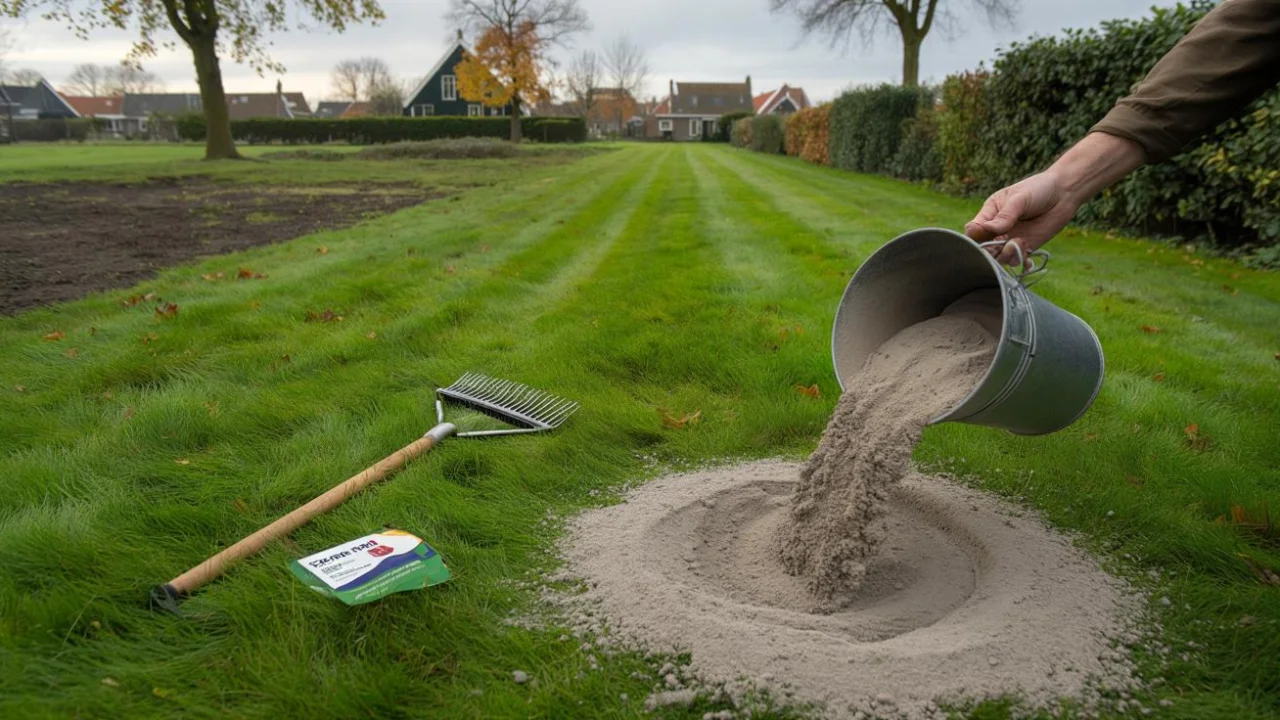
Walk through Dutch neighborhoods in late autumn, and you’ll notice something unusual. Many homeowners sprinkle a fine, pale powder across their lawns before winter arrives. This isn’t fertilizer or pesticide—it’s wood ash from their fireplaces and wood stoves.
The technique works because wood ash is naturally alkaline, typically ranging from pH 9 to 13. When applied to acidic soil, it gradually raises the pH to levels where grass thrives but moss struggles. The effect builds over time, creating lasting protection.
| Soil pH Level | Grass Performance | Moss Risk |
|---|---|---|
| Below 5.5 | Poor growth, yellowing | Very High |
| 5.5 – 6.0 | Struggling, thin patches | High |
| 6.0 – 7.0 | Healthy, dense growth | Low |
| Above 7.5 | Nutrient lockout issues | Very Low |
“We’ve used this method in our family for three generations,” says Amsterdam gardener Pieter Janssen. “My grandfather always said prevention is easier than cure, and with moss, he was absolutely right.”
The Dutch typically apply wood ash in November, after the last mow but before heavy winter rains. The timing allows the ash to work slowly through the soil over winter, creating an unwelcome environment for moss spores that would otherwise germinate in spring.
How to Apply the Dutch Technique Safely
Not all ash works for Dutch lawn moss prevention. Only use ash from untreated hardwood—oak, beech, birch, or fruit woods work best. Never use ash from treated lumber, painted wood, or coal, as these contain harmful chemicals.
Here’s the step-by-step process Dutch gardeners swear by:
- Test your soil pH first using a simple test kit
- Apply only if pH is below 6.5
- Sift ash through a fine mesh to remove large chunks
- Spread evenly at 10-15 pounds per 1,000 square feet
- Water lightly to help ash settle into soil
- Retest pH in spring—it should rise by 0.5-1.0 points
The key is moderation. Too much ash can make soil overly alkaline, creating different problems. Most Dutch gardeners apply ash every other year rather than annually, monitoring soil pH to avoid overcorrection.
“Start with less than you think you need,” advises soil consultant Marie De Vries from Groningen. “You can always add more next year, but fixing over-alkaline soil takes much longer.”
What Happens When You Get It Right
Homeowners who adopt this Dutch approach typically notice changes within one growing season. Grass becomes denser and more resilient, while moss gradually retreats to areas with poor drainage or deep shade.
The method works particularly well in regions with naturally acidic soil—areas with pine trees, heavy rainfall, or sandy ground. These locations often struggle with recurring moss problems despite repeated removal efforts.
Beyond moss prevention, the wood ash provides valuable nutrients. It contains significant potassium and calcium, both essential for strong grass growth. The calcium also improves soil structure, helping with drainage issues that contribute to moss problems.
Sarah, whose moss problem started this story, tried the Dutch method two years ago. “My lawn hasn’t been this thick since we moved in,” she says. “My neighbors keep asking what I’m doing differently, but they don’t believe something so simple could work so well.”
The technique isn’t magic—it simply addresses moss at its source rather than fighting symptoms. By creating soil conditions that favor grass over moss, Dutch gardeners have turned prevention into their most powerful tool.
FAQs
Can I use ash from any type of wood fire?
Only use ash from clean, untreated hardwood like oak, maple, or fruitwood. Never use ash from treated lumber, painted wood, or charcoal.
How often should I apply wood ash to prevent moss?
Most Dutch gardeners apply wood ash every 2-3 years, testing soil pH annually to avoid making the soil too alkaline.
Will this method work on heavily shaded lawns?
The technique helps with pH-related moss issues but won’t solve problems caused by deep shade or poor drainage. These areas may need additional solutions.
Is wood ash safe for pets and children?
Wood ash is generally safe once watered in, but avoid applying on windy days and keep pets off treated areas until after the first watering.
What if my soil is already alkaline?
Don’t use wood ash if your soil pH is above 7.0. This method only works for acidic soil conditions that encourage moss growth.
When is the best time to apply wood ash for moss prevention?
Late autumn works best, typically November in most climates. This timing allows the ash to work through winter before the next growing season begins.