
Sarah had been cooking the same chicken thighs for years, but they always came out with burnt bits stuck to the pan and an odd bitter aftertaste. She’d tried different oils, adjusted the heat, even bought a new skillet. Nothing worked until her chef friend Marco watched her cook one evening and quietly reached for her butter.
“Let me show you something,” he said, melting the butter slowly in a small saucepan. What happened next changed everything Sarah thought she knew about cooking with butter.
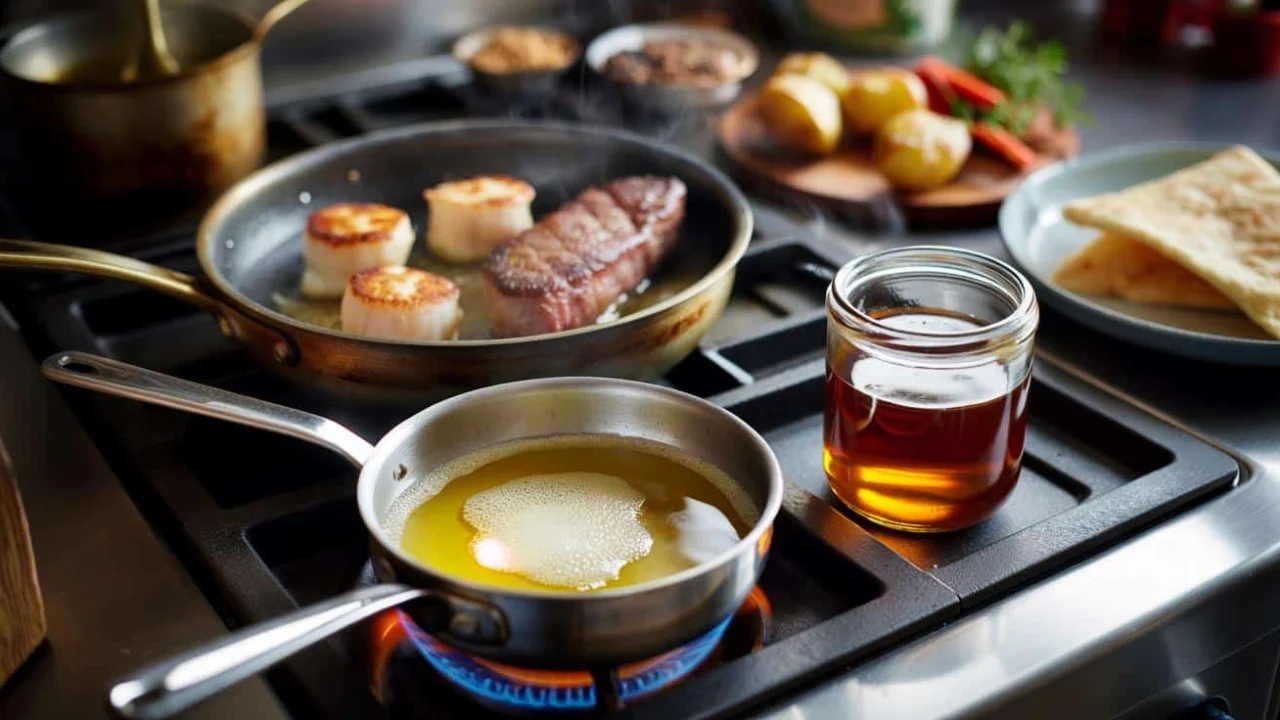
Marco was making clarified butter, and within minutes, Sarah’s chicken had that perfect golden crust she’d seen in restaurant photos but never achieved at home.
The golden secret hiding in your kitchen
Clarified butter has quietly become the not-so-secret weapon in both professional and home kitchens. This amber-colored fat might look like melted butter, but it behaves completely differently when heat hits the pan.
Regular butter contains about 80% milk fat, 16% water, and 4% milk solids. Those milk solids include proteins and sugars that give butter its creamy taste but also make it burn easily at temperatures above 350°F.
When you make clarified butter, you’re essentially editing out the problematic parts. The water evaporates, the milk solids get skimmed away, and what remains is almost pure milk fat with a smoke point that jumps to around 450°F.
“Think of it as butter with all the drama removed,” explains chef Elena Rodriguez, who runs three busy restaurants in Chicago. “It gives you the rich, nutty flavor without the temperamental burning.”
Why professional chefs can’t live without it
Walk into any professional kitchen during dinner service, and you’ll find containers of clarified butter stationed at every cooking station. There’s a reason for this widespread adoption that goes beyond chef trends.
The practical advantages make clarified butter indispensable for high-volume cooking:
- Higher smoke point allows aggressive searing without burnt flavors
- Stays fresh longer than regular butter (up to 6 months refrigerated)
- Creates perfectly even browning on proteins and vegetables
- Provides rich flavor without the risk of burning during long cooking processes
- Gives dishes that glossy, restaurant-quality finish
| Fat Type | Smoke Point | Best Uses |
|---|---|---|
| Regular Butter | 350°F | Low-heat sautéing, finishing |
| Clarified Butter | 450°F | High-heat searing, roasting |
| Vegetable Oil | 400°F | General cooking, frying |
| Olive Oil | 375°F | Medium-heat cooking, dressings |
“During a busy Saturday night, I need fats that won’t fight me,” says James Patterson, head chef at a popular downtown bistro. “Clarified butter lets me push the heat without worrying about bitter, burnt flavors ruining a perfectly good piece of fish.”
Making clarified butter at home is easier than you think
The process looks intimidating when you first watch it, but making clarified butter requires nothing more than patience and a keen eye. Here’s the step-by-step method that works every time:
What you’ll need:
- 1 pound of good-quality unsalted butter
- Heavy-bottomed saucepan
- Fine-mesh strainer
- Clean glass jar for storage
The process:
- Cut butter into chunks and place in saucepan over low heat
- Let it melt completely without stirring (about 10-15 minutes)
- White foam will appear on top – skim this off with a spoon
- Continue heating until the butter stops bubbling and turns clear golden
- Strain through fine mesh to remove any remaining milk solids
- Pour into clean jar and store in refrigerator
“The key is patience,” notes cookbook author Maria Santos. “Rush the process, and you’ll end up with brown butter instead of clarified butter – both are delicious, but they’re completely different ingredients.”
How clarified butter transforms everyday cooking
Beyond professional kitchens, home cooks are discovering how clarified butter elevates simple dishes. The difference becomes obvious the first time you use it.
Vegetables roasted in clarified butter develop deep caramelization without any burnt edges. Steaks get that perfect restaurant-style crust. Even scrambled eggs take on a richer, more complex flavor.
The texture changes are equally dramatic. Clarified butter coats food with a silky sheen that regular butter can’t achieve at high temperatures. This creates visual appeal that makes home-cooked meals look professionally prepared.
“I started using clarified butter for my weekend pancakes, and suddenly my family thought I’d become a gourmet cook,” laughs home cook David Chen. “Same recipe, but the pancakes came out golden and perfect instead of spotty and burnt.”
Health-conscious cooks also appreciate that clarified butter has a longer shelf life and can be stored at room temperature for short periods, making it more convenient than regular butter for certain applications.
The technique works particularly well for:
- Searing proteins like chicken, fish, or steak
- Roasting vegetables at high temperatures
- Making perfect grilled cheese sandwiches
- Cooking eggs without burning
- Finishing dishes with rich, glossy sauces
FAQs
How long does clarified butter last?
Properly stored clarified butter keeps for up to 6 months in the refrigerator or 3 months at room temperature in a sealed container.
Can I use salted butter to make clarified butter?
Yes, but unsalted butter gives you better control over the final flavor. The salt will remain in the clarified butter, so adjust seasoning in your dishes accordingly.
Is clarified butter the same as ghee?
They’re very similar, but ghee is cooked slightly longer to develop a nuttier flavor and golden color. Both have high smoke points and similar cooking properties.
Why does my clarified butter look cloudy?
Cloudiness usually means some milk solids or water remain. Strain it again through a finer mesh or cheesecloth to achieve the clear, golden appearance.
Can I make clarified butter in the microwave?
While possible, stovetop preparation gives you better control over the process and more even results. The slow, gentle heat is key to proper separation.
What should I do with the milk solids I remove?
Don’t waste them! The skimmed milk solids can be stirred into mashed potatoes, spread on toast, or mixed into cookie dough for extra buttery flavor.