
Last weekend, I watched my sister stare at her beautiful oak floors with genuine frustration. The same floors that had been the selling point of her house now looked tired and lifeless. She’d spent months following every cleaning hack on social media, armed with gallons of white vinegar and expensive wax products.
“I don’t understand,” she said, running her finger along a particularly dull board. “I clean them religiously, but they just keep getting worse.”
That’s when her elderly neighbor knocked on the door with a plate of cookies and the most unexpected hardwood floor cleaning advice I’d ever heard.
Why your current hardwood floor cleaning method is backfiring
Most homeowners follow the same tired routine for hardwood floor cleaning. Mix some vinegar with water, mop vigorously, and hope for the best. The results seem promising at first – the floor appears clean and smells fresh. But weeks later, that telltale cloudiness creeps back in.
- Goodbye to traditional hair dyes: a new trend is emerging that naturally covers grey hair while helping people look younger
- Thin hair or thin patience: a controversial natural gray coverage method that promises youth but divides doctors and dermatologists
- Two and a half centuries later, a lost explorer’s ship emerges intact off Australia: a remarkable time capsule from another era
- An Anglo-Saxon nation unveils a hydrogen-powered hypersonic jet reaching 24,501 km/h: proving it won’t play second fiddle
- Interstellar comet 3I Atlas fuels uneasy questions about what may actually be moving through our solar system
- Snow Moon peaks – but there is still time to see it
“I see this mistake in about 70% of homes I visit,” explains Maria Rodriguez, a professional floor restoration specialist with 15 years of experience. “People think acidic cleaners are safer because they’re ‘natural,’ but they’re actually creating long-term damage.”
The science behind this is surprisingly simple. Hardwood floors have protective polyurethane finishes designed to withstand normal wear, not repeated acid exposure. Each vinegar cleaning session slowly eats away at this protective barrier, leaving microscopic damage that scatters light instead of reflecting it cleanly.
Wax creates an entirely different problem. While it initially adds shine, wax builds up in layers that trap dirt and create uneven surfaces. Within months, you’re not looking at your beautiful wood anymore – you’re seeing a patchwork of old wax residue that makes even expensive floors look cheap.
The surprising household item that transforms dull floors
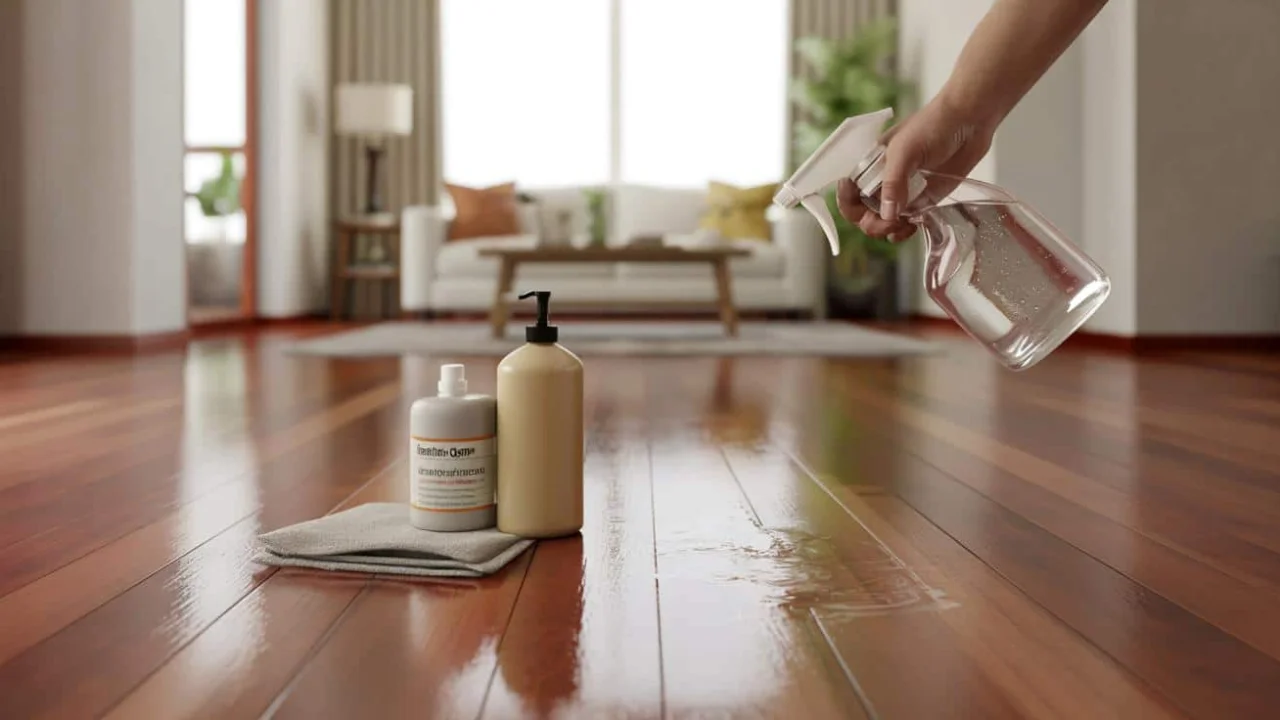
The neighbor’s secret wasn’t expensive or complicated. She mixed three simple ingredients most people already have: isopropyl alcohol, a few drops of pH-neutral dish soap, and warm water. The ratio matters, though.
Here’s the exact formula that restored my sister’s floors to their original luster:
- 2 cups warm water
- 1/2 cup isopropyl alcohol (70% or higher)
- 1 teaspoon gentle dish soap (Dawn or similar)
- Mix in a spray bottle, shake gently
The magic happens because isopropyl alcohol cuts through residue without damaging wood finishes. It evaporates quickly, leaving no film behind. The small amount of dish soap helps lift dirt and grime, while the water dilutes everything to safe levels.
“This combination actually removes the buildup from previous cleaning attempts,” notes James Chen, a flooring contractor who’s been in business for over two decades. “Most of my clients are amazed when they see their original finish revealed again.”
| Cleaning Method | Initial Results | Long-term Effects | Cost per Month |
|---|---|---|---|
| Vinegar Solution | Clean appearance | Dulls finish, creates haze | $3-5 |
| Commercial Wax | High shine | Builds up, traps dirt | $15-25 |
| Alcohol-Soap Mix | Natural shine restored | Maintains finish integrity | $2-3 |
How to apply this technique for maximum results
The application method matters as much as the solution itself. Start by sweeping or vacuuming thoroughly – any grit left behind will create microscopic scratches when you mop.
Spray the solution lightly across a 4-foot section of floor. You don’t want puddles, just enough moisture to work with. Use a microfiber mop, not cotton, because microfiber picks up residue instead of spreading it around.
Work in the direction of the wood grain, never against it. This prevents liquid from seeping into seams between boards. The alcohol evaporates quickly, so you’ll see results almost immediately.
For floors with heavy buildup from years of wrong products, you might need two applications. The first removes old residue, the second brings back the natural shine.
“I had a client whose floors looked so bad she was ready to replace them,” recalls Sarah Martinez, an interior designer who now recommends this method to all her clients. “After three treatments with this simple mixture, her floors looked better than when she first moved in.”
What this means for your home’s value and daily life
The transformation goes beyond aesthetics. Properly maintained hardwood floors can add thousands to your home’s value, while damaged or dull floors actually decrease it. Real estate agents consistently point to flooring condition as a major factor in buyer decisions.
The daily benefits are immediate too. Floors that reflect light properly make rooms appear larger and brighter. You’ll notice the difference in how your home feels, not just how it looks.
This method also saves money long-term. Instead of eventually needing professional refinishing that costs $3-8 per square foot, you’re maintaining your floors’ original condition with ingredients that cost pennies per application.
The time investment is minimal – most rooms take 10-15 minutes to clean properly with this technique. Compare that to the hours spent scrubbing with ineffective vinegar solutions or the recurring expense of professional cleaning services.
“My customers who switch to this method typically extend their floors’ lifespan by 5-10 years,” notes Tom Wilson, a flooring professional who’s seen the difference firsthand. “That’s thousands of dollars in avoided replacement costs.”
Common mistakes that ruin otherwise perfect results
Even with the right formula, some homeowners sabotage their success. Using too much solution creates streaks and extends drying time. Always spray lightly and work in manageable sections.
Another mistake is mixing the solution too far in advance. The alcohol can separate or evaporate, changing the formula’s effectiveness. Mix fresh batches weekly for best results.
Never use this method on unsealed or waxed floors – it’s specifically designed for modern polyurethane finishes. When in doubt, test a small, inconspicuous area first.
Temperature matters too. Cold floors don’t respond as well to this treatment. Room temperature floors show the most dramatic improvement.
FAQs
How often should I clean hardwood floors with this alcohol mixture?
Once every 1-2 weeks is ideal for most households, with daily sweeping or vacuuming to prevent dirt buildup.
Will this method work on engineered hardwood floors?
Yes, as long as they have a polyurethane finish. The gentle formula is safe for both solid and engineered wood.
Can I add essential oils to make it smell better?
It’s better to avoid oils as they can leave residue. The alcohol mixture dries odorless within minutes.
What if my floors are already severely damaged from vinegar use?
This method can remove some buildup, but heavily damaged floors may need professional restoration before showing improvement.
Is it safe to use around pets and children?
Yes, the ingredients are much safer than commercial cleaners, and the alcohol evaporates completely during cleaning.
How do I know if my floors have a polyurethane finish?
Most floors installed after 1990 have poly finishes. When in doubt, contact your flooring manufacturer or test in an inconspicuous area.